Tuesday, June 9, 2015

Recipe Tuesday :: Red Velvet Cupcakes


It was inevitable that I would eventually get around to the universally desired Red Velvet Cupcake at some point.  This was the requested flavor of another student at work and I admit I was interested in trying it.  I already knew that the secret to Red Velvet cake batter was vinegar.  I know, right?!  But it apparently gives that little tang to the flavor of it all.  I'll admit I myself am not a Red Velvet lover.  I want the flavor to be more chocolatey than it is and I think a quote I found from another blogger was the most accurate description of  Red Velvet flavor I've ever heard.  "Red Velvet is a confused cupcake.  Is it vanilla?  Is it chocolate?  It's hard to say."  Honestly I feel a Red Velvet Cupcake is only a means to eating a lot of cream cheese frosting and I would really rather have carrot cake in my mouth.  But it wasn't my birthday, so Red Velvet it is!


I had this brilliant idea of filling these cupcakes with a creamy vanilla filling, since the last one were so successful.  I needed some vanilla bean, so I ordered them on Amazon and they were set to arrive on the day I needed to make the cream filling.  Alas, they did not.  Actually they still haven't arrived even though they should have been here June 3rd....  Maybe I'll make some Boston Cream Pie Cupcakes at a later date.  Whenever they get here.  :/


So regular old Red Velvet it was.  I used this recipe by Annie's Eats and it was pretty spectacular!  The cream cheese frosting recipe she has is also spot on and I ended having to make up a little half batch because I was piling it on top of all the cupcakes.  But it was seriously that good.

See I got about this far when I ran out of frosting...I couldn't leave those others naked or *gasp* use store-bought frosting.


I also ended up dusting the top with some of the cocoa powder for decoration and to give it just a boost in the chocolate department.  The overall rating at work was high!  People who said that they didn't like Red Velvet said they liked these, so I guess I did an okay job.  ;)  And the birthday boy took home 4 for himself...

Tuesday, June 2, 2015

In The Garden :: May


While March and April were spent cleaning up the garden, May was the month for planting.  The first thing to do before sticking those seeds in the ground was to turn some fertilizer into the beds.  We usually put two bags of manure into the small 6 x 4 beds and four into the longer 16 x 4 beds.  So after some back breaking work it was finally time to put all the planning into action.  We like to do the square foot planting method, where you plant the maximum number of plants you can per foot, so obviously dividing the beds into 1-foot square sections is required.


Then plant the seeds...


And cover them up.


Some plants like pumpkins and squash should only have one plant per foot, while others like beans, peas and carrots can have more plants per foot.


After the birds came and feasted on the pumpkin seeds we planted last year, we cover them up with garden fabric for a couple of weeks until they sprout and have their first true leaves.  Since the watermelon and cantaloupes like warmer weather than we usually have in the spring, I cover those with plastic instead so the soil stays warm like they want.


The surprise really comes when you open those up and see all the weeds that have grown along with those plants.  Or the lack of any seeds sprouting at all...


So today we went out and cleaned up the beds and replanted where there were bear spots and admired the vegetables already doing well.  Like the potatoes...


And the peas, carrots and radishes...


We took in the wildlife...


And I cleaned up the potting bench a bit more.  It's really coming together!


In between all these beautiful photos, however, was the aggravation of going through three drip hoses on that middle bed there.  First the old hose had a split, so it wasn't watering evenly.  Then the new one split two days after putting it on and washed away a huge part of the end of the bed.  It had a warranty, so Mom took it back and got another and that one split as well!  We had been allowing less pressure through on the second new hose because we thought that maybe it was high water pressure causing it to split, but when the second one did it too we took that and any more of those hoses we'd gotten back.  It had washed the bed out for a second time and I wasn't going to go through putting it back together one more time.  So we went and got the old reliable (if only good for one year) hoses from Home Depot.  I'd rather have something reliable for a year than a split in a few days.  Ahhh, the joys of gardening.  :)

Tuesday, May 26, 2015

Recipe Tuesday :: Raspberry Champagne Cupcakes

How do I follow up after those delicious Lemon Curd Cupcakes?  I didn't think it was possible to top them, but thanks to a student's birthday, I think I might have.  Her requested flavor was raspberry and I found the ultimate recipe on Pinterest again.  Listen to this...Raspberry Champagne Cupcakes.  Doesn't that sound divine!?  This recipe is thanks to Living Better Together.  It called for 3 tablespoons of champagne added to the frosting which meant Mom and I had to drink the rest of the champagne lest it go bad.  What a sacrifice.


I also used the recipe for homemade raspberry filling provided with the cupcakes and Mom loved that so much that the leftovers were squirreled away and used on pancakes for the next night's dinner.


The cake was easy to get together and made moist fluffy cupcakes.  I added a teaspoon of raspberry extract to the batter and it gave them just that light hint of raspberry flavor.  They were a little undone inside at 18 minutes for me, but were nice and golden on the outside, so I moved them to the top rack and let them cook for the last two minutes.  All turned out well.


Then I used a melon-baller to scoop out the insides and piled them up for a baker perk.  Mom and I gobbled them up with some of the raspberry filling on top.  I ended up spooning the filling in and then spreading it on top, like the curd of the lemon cupcakes, so that you could see the raspberry yumminess just peaking out under the frosting.


The frosting turned out amazing and just like she said, the champagne made the frosting smooth and fluffy.  The buttercream frosting was much more sturdy than the cream cheese frosting I usually go for and made them look uber-finished.  A raspberry on top was the final touch.  They were almost too pretty to eat....almost.


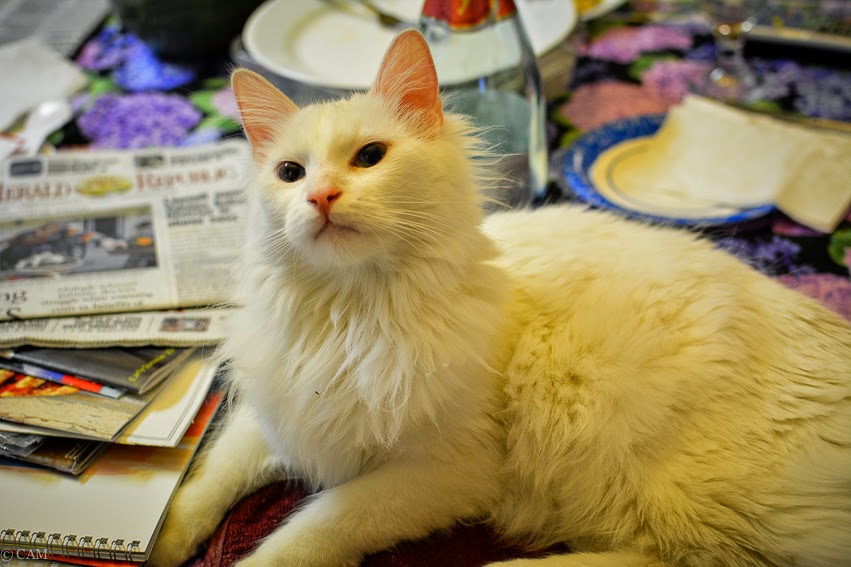
And here's some cute cat pictures to end on.  He didn't help make the cupcakes, but his picture was mixed in from that day.  Gus is adorable...when he's not trying to eat you.


Thursday, May 21, 2015

Three Things Thursday :: Hand Carved Spoons, Mystery Knit Alongs, and Free At Home Try-on Glasses

Wow.  That title is loooooooong.  But I can't help that the three things I'm into right now are wordy.  So let's get started because there are a lot of words to describe them!


Hand Carved Spoons.  Three promising words.  The idealist side of me sees a crackling fire on a cool night out in the woods, carving a recently split piece of wood with knives and spoon carving tools.  I'm wearing a hat I knitted, of course, and the shaving are piling up at my feet.  S'mores are being made and a few beers are probably being drunk around the fire after a long day.  The sky is blue twilight with a few stars starting to wink in the navy darkness to the east.  The woods are dark around the fire and the windows of the cabin are warm and cheery from the Coleman lantern shining inside.  We are laughing and talking and when a conversation dies down you can hear the birds call to each other as they nestle down for the night.  Le sigh.

From hatchetandbear.com - hatchetandbear on Instagram
I recently saw an article in Country Living about a woman in Frome, England that hand carves wooden spoons and I got excited.  You can go see her website and business called Hatchet + Bear here.  Trust me, it's awesome.  I'm sure anything I carve will look nothing like her amazing stuff, but it sure sounds like a fun thing to do while out camping.  And you all know how much I love a new craft.  The challenge of getting it to look like what I see in my head.  The thrill of new tools and a new project.  The excitement at getting good at creating (eventually).  So I threw myself into research on the best tools and where I could get them and loaded up an Amazon cart with all the goodies I want need for this new endeavor.  Christmas present anyone?


The next three most amazing words you can put together?  Mystery Knit Along.  Or KALs for those in the know.  Usually you choose a pattern based on what you see of the final project, but the mystery part is you don't know what the project is going to look like.  So you just knit along, following the clues they release and get to be surprised by how it turns out.  I've seen a few of these on Ravelry and they're usually associated with a show or other fandom of geeky goodness.  Since I've been obsessed with Outlander as of late, it should be no surprise that I joined the Mystery KAL for the second half of the season of Outlander.  How could I not?!  They had a special color-way of yarn called Craigh na Dun for heavens sake!  My yarn was delayed a bit and I started watching the pictures show up from those that had already started their projects.  I ended up not liking the variegated color-way of Craigh na Dun with the pattern as it progressed.  There are lots of beautiful cables and they were lost in the mass of colors.  I saw one project where the person used a yarn that was mainly a single color with lighter and darker areas and I loved it!  So I bought some more yarn (you can never have enough yarn) and started my project.


I really love not knowing what's coming next with the clues!  It really makes me want work on the project more than usual because it's like reading a really good book.  What's going to happen next?  Ooooo another cable!!  I'm really loving what's coming off the needles.  The cable along the edge is so pretty!  I just can't say enough about this project and I have the perfect shawl pin to wear it with when it's done.


And lastly, FREE at home try-on glasses!  I went to the eye doctor for my yearly exam and I ended up getting a new pair of glasses (which I'm still waiting for) and I liked them....but.  I really wanted a trendy pair of glasses that didn't have nose pieces.  My eyes get pretty dry when my allergies flair up and I'd like to have a pair of glasses to wear to work that not only make me look smart but also ones that I can slide up and look through a microscope and then pull back down without the nose pieces catching in my hair.  So thanks to ads on the side of my Facebook newsfeed I saw a website that sells the kind of glasses I'm looking for called Warby Parker.  They'll send you 5 pairs of glasses for 5 days for free!  You can wear them around all day, take pictures and post them to get opinions and just really try them out for longer than you can at the eye doctor!  I got five that I thought would look good but found out that I really didn't look good in the larger frames.  So I sent those back and got another 5.  I think I've picked my favorite but I'm putting it up to the vote!  So what do you think?

1 - Mitchell

2 - Hardy

3 - Wilkie

Leave me a comment (here or on Facebook)!  I want some constructive criticism!  Or do they all look the same?